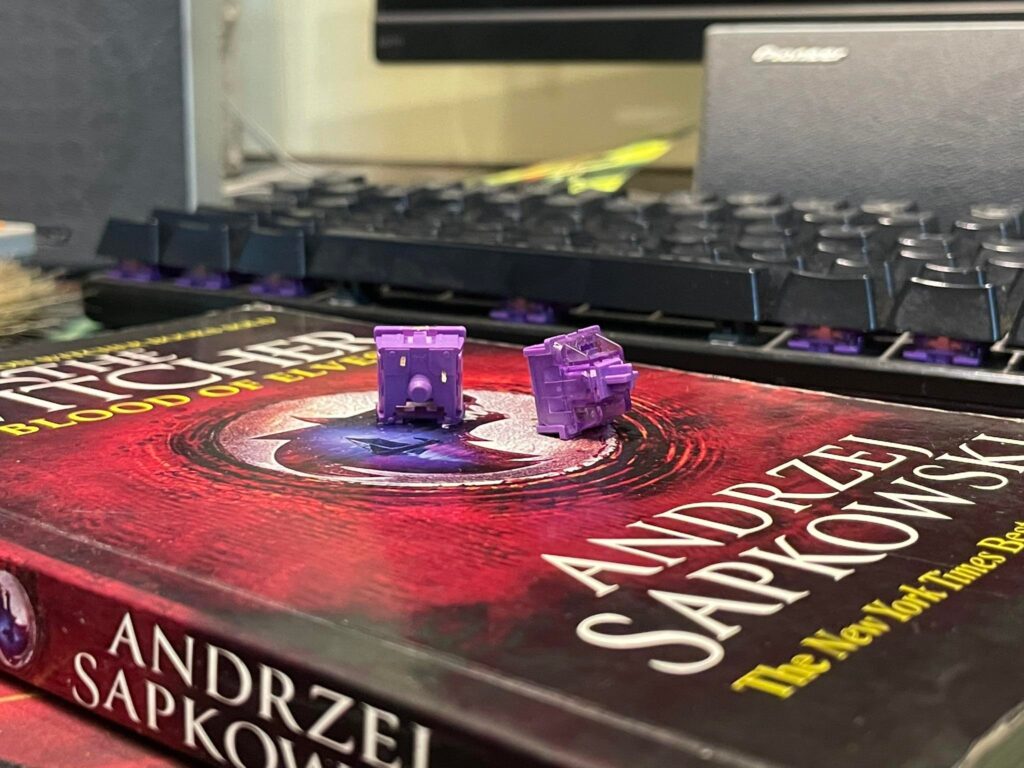
Many people who get their first mechanical keyboards get it without any research whatsoever. Often times, the lower end boards come with the Outemu switches, as they are cheap to manufacture. This article will share the experience of a complete beginner in the keyboard world transitioning from Outemu Blue switches to higher end Akko CS Lavender Purples.
How it Started
So, let’s start from the beginning. The board I had was an Armageddon MKA11R RGB Raptor. I liked the board. I got it from Singapore back in 2018, and I loved how this one stood the test of time. This keyboard had grown on me. I loved it and I just couldn’t let it go. I used this board for years without thinking about alternatives at all.
Until recently when I got extremely interested in keyboards. Before I knew it keyboards took over my YouTube recommendations. I was looking at so many products, and I couldn’t wait to get my feet wet. However, I was still unsure if I should make the move. I mean, I had a keyboard that did what it had to. But then again, I had fallen down the rabbit hole of custom keyboards.
Dealing with Outemu sockets
I knew that if I had to order anything, it had to be switches. It’s had not tried anything except for Outemu Blues, Kailh Blues, and Cherry MX Blues. So, I didn’t quite know what a thock, or a creamy sound really meant. I only felt like my large stabilizer based keys should sound different. But I just needed something new. So I started digging.
I quickly realized I had the worst hotswap sockets on planet earth. Most switcher were incompatible and they were as stiff as a rock. I had tried to take them out with the included switch puller out of mere curiousity and figured that it was stiff. I thought I was just doing it wrong, but after some research I realized it was the slots.
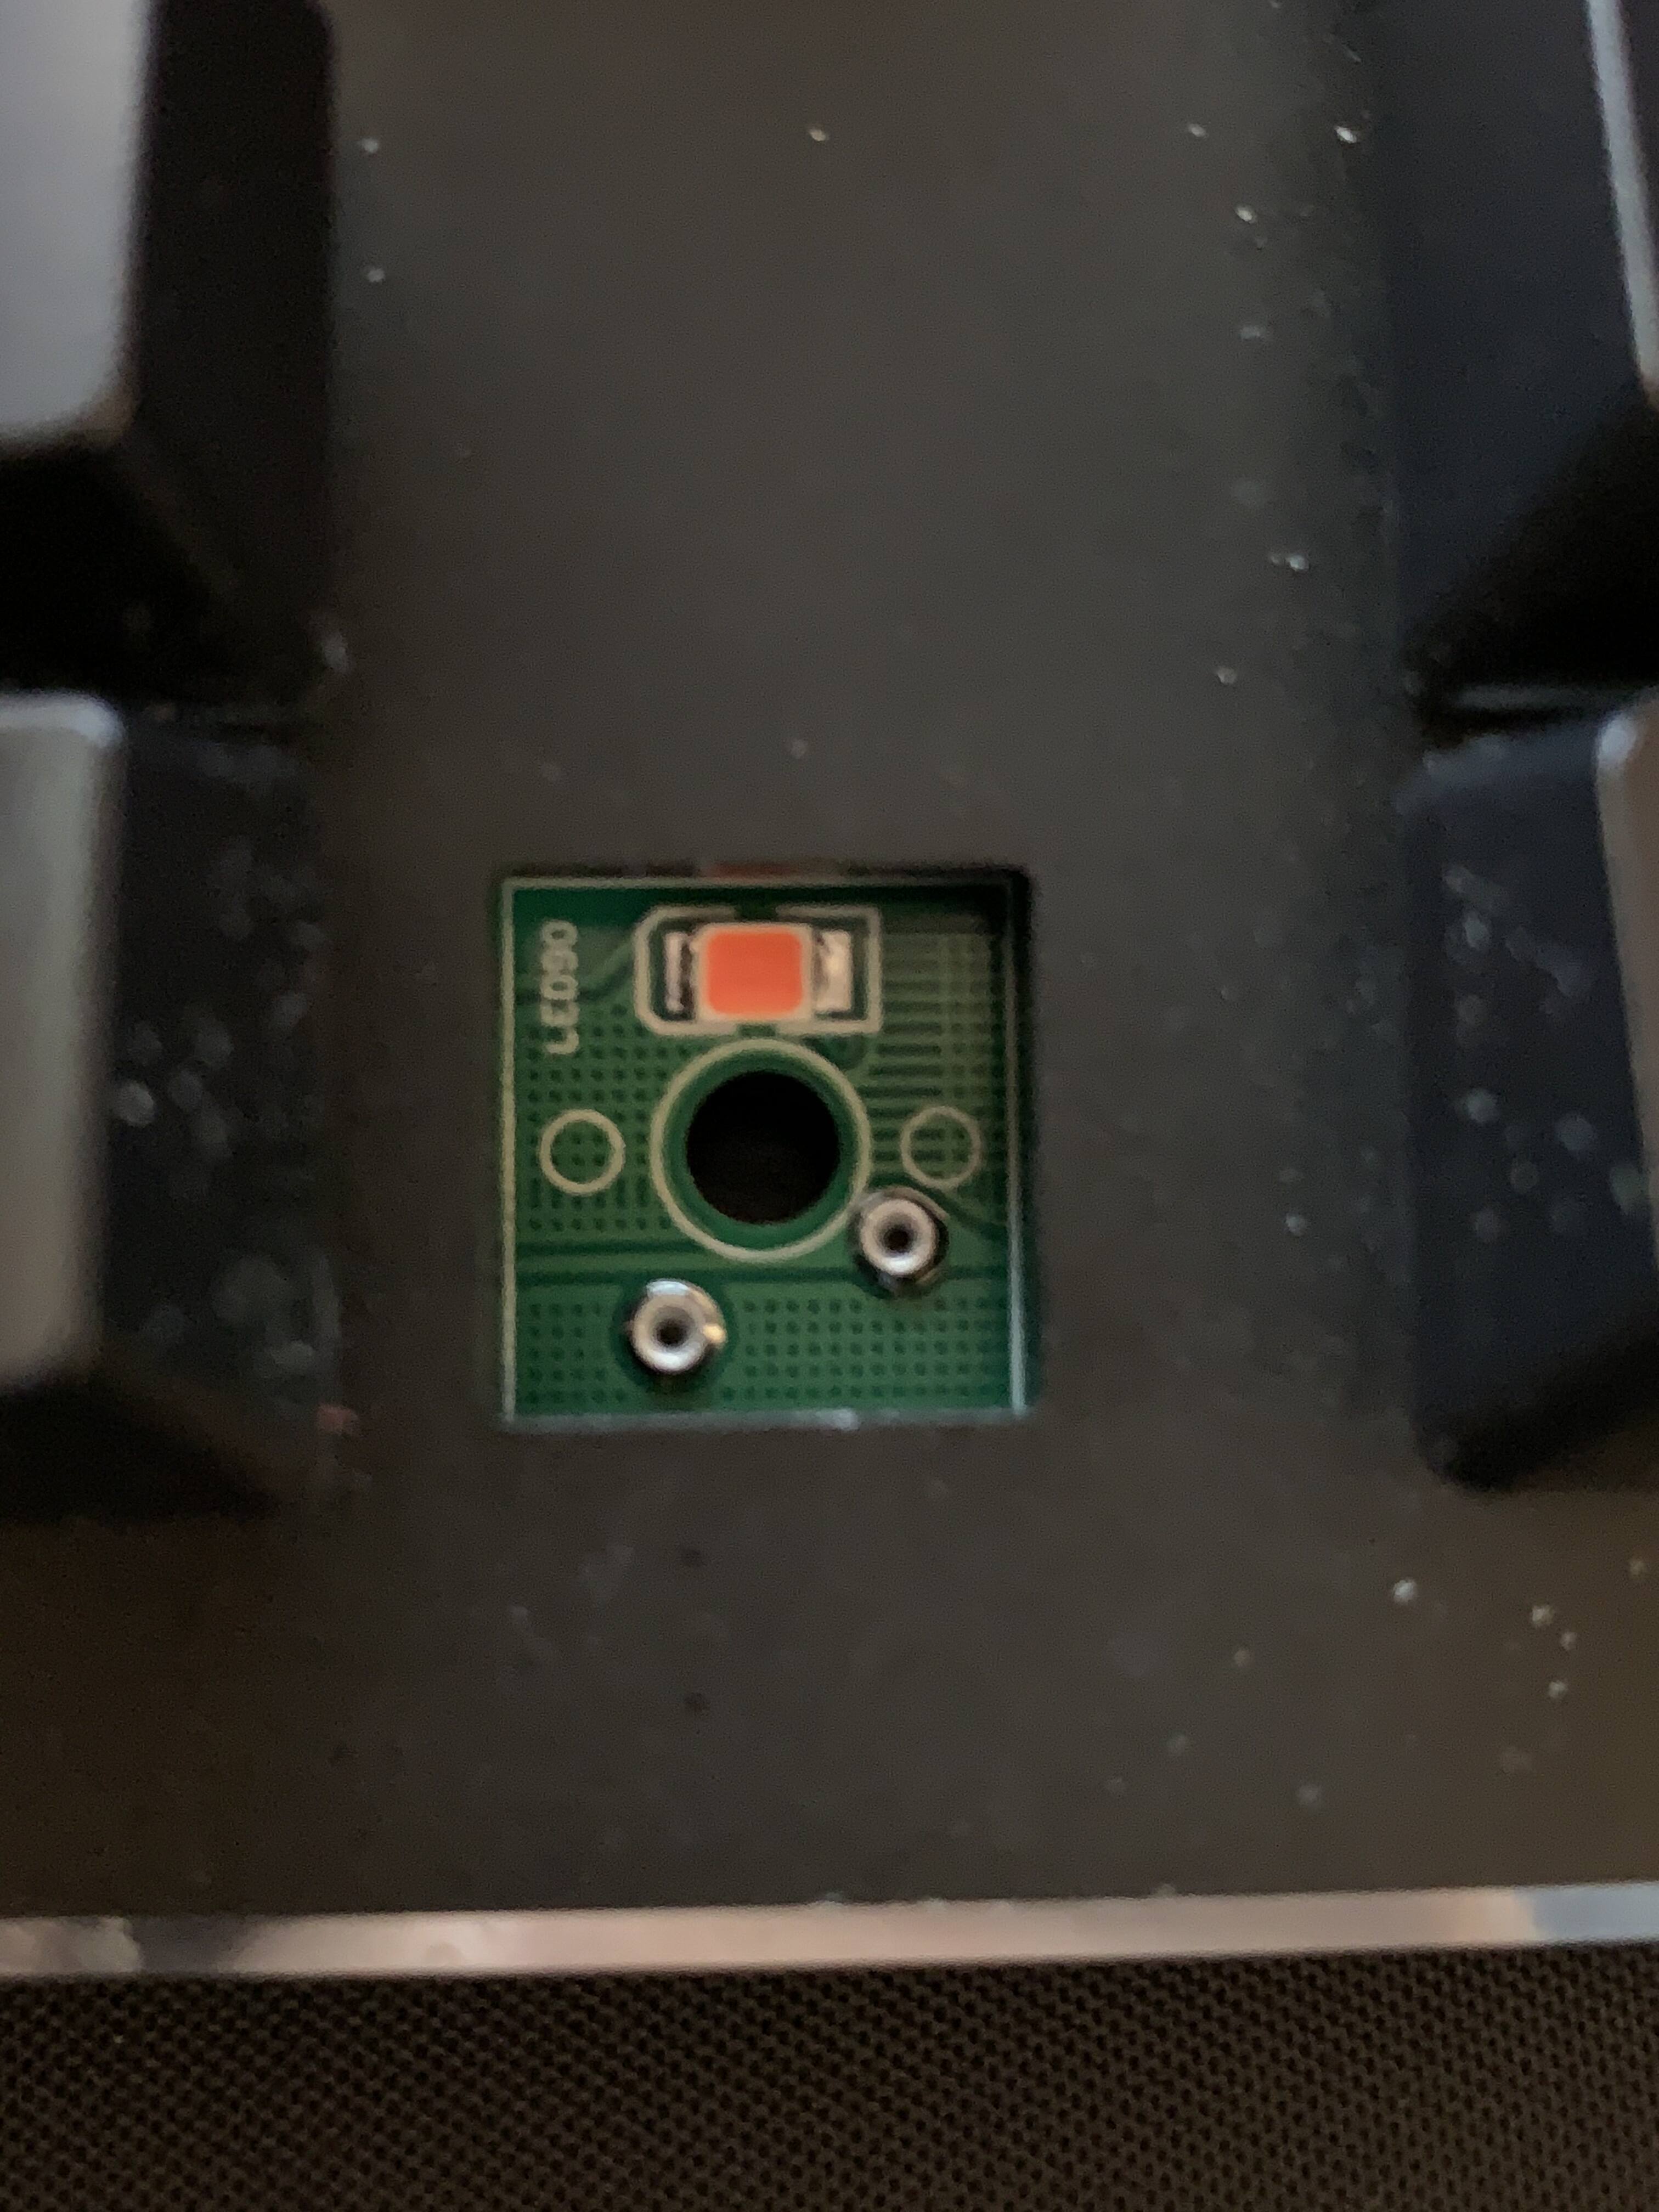
Moreover, very few switches were compatible. 5-pin hotswap slots are very much the norm today. But this thing has 3-pin, and that too is garbage. Most switches weren’t compatible with this 3-pin socket either. Most of them, the Gaterons for example needed precise clipping to fit.
I also didn’t want other Outemus, I wanted something a bit higher end than those ones. The higher end Outemus were good but they were unavailable in Bangladesh. Well, except for the silent silver which wasn’t exactly what I wanted.
Light at the End of the Tunnel
Following days of misery, I gave up with it. However, the bug had gotten me. With some more research, I found something that could be the solution to my misery.
It was Akko switches! They were one of the only few miraculous switches that fit Outemu sockets other than Outemu ones. I knew about them, and after more research, I fell in love. They were reasonably priced, and they came in a packaging that looked premium for the price.
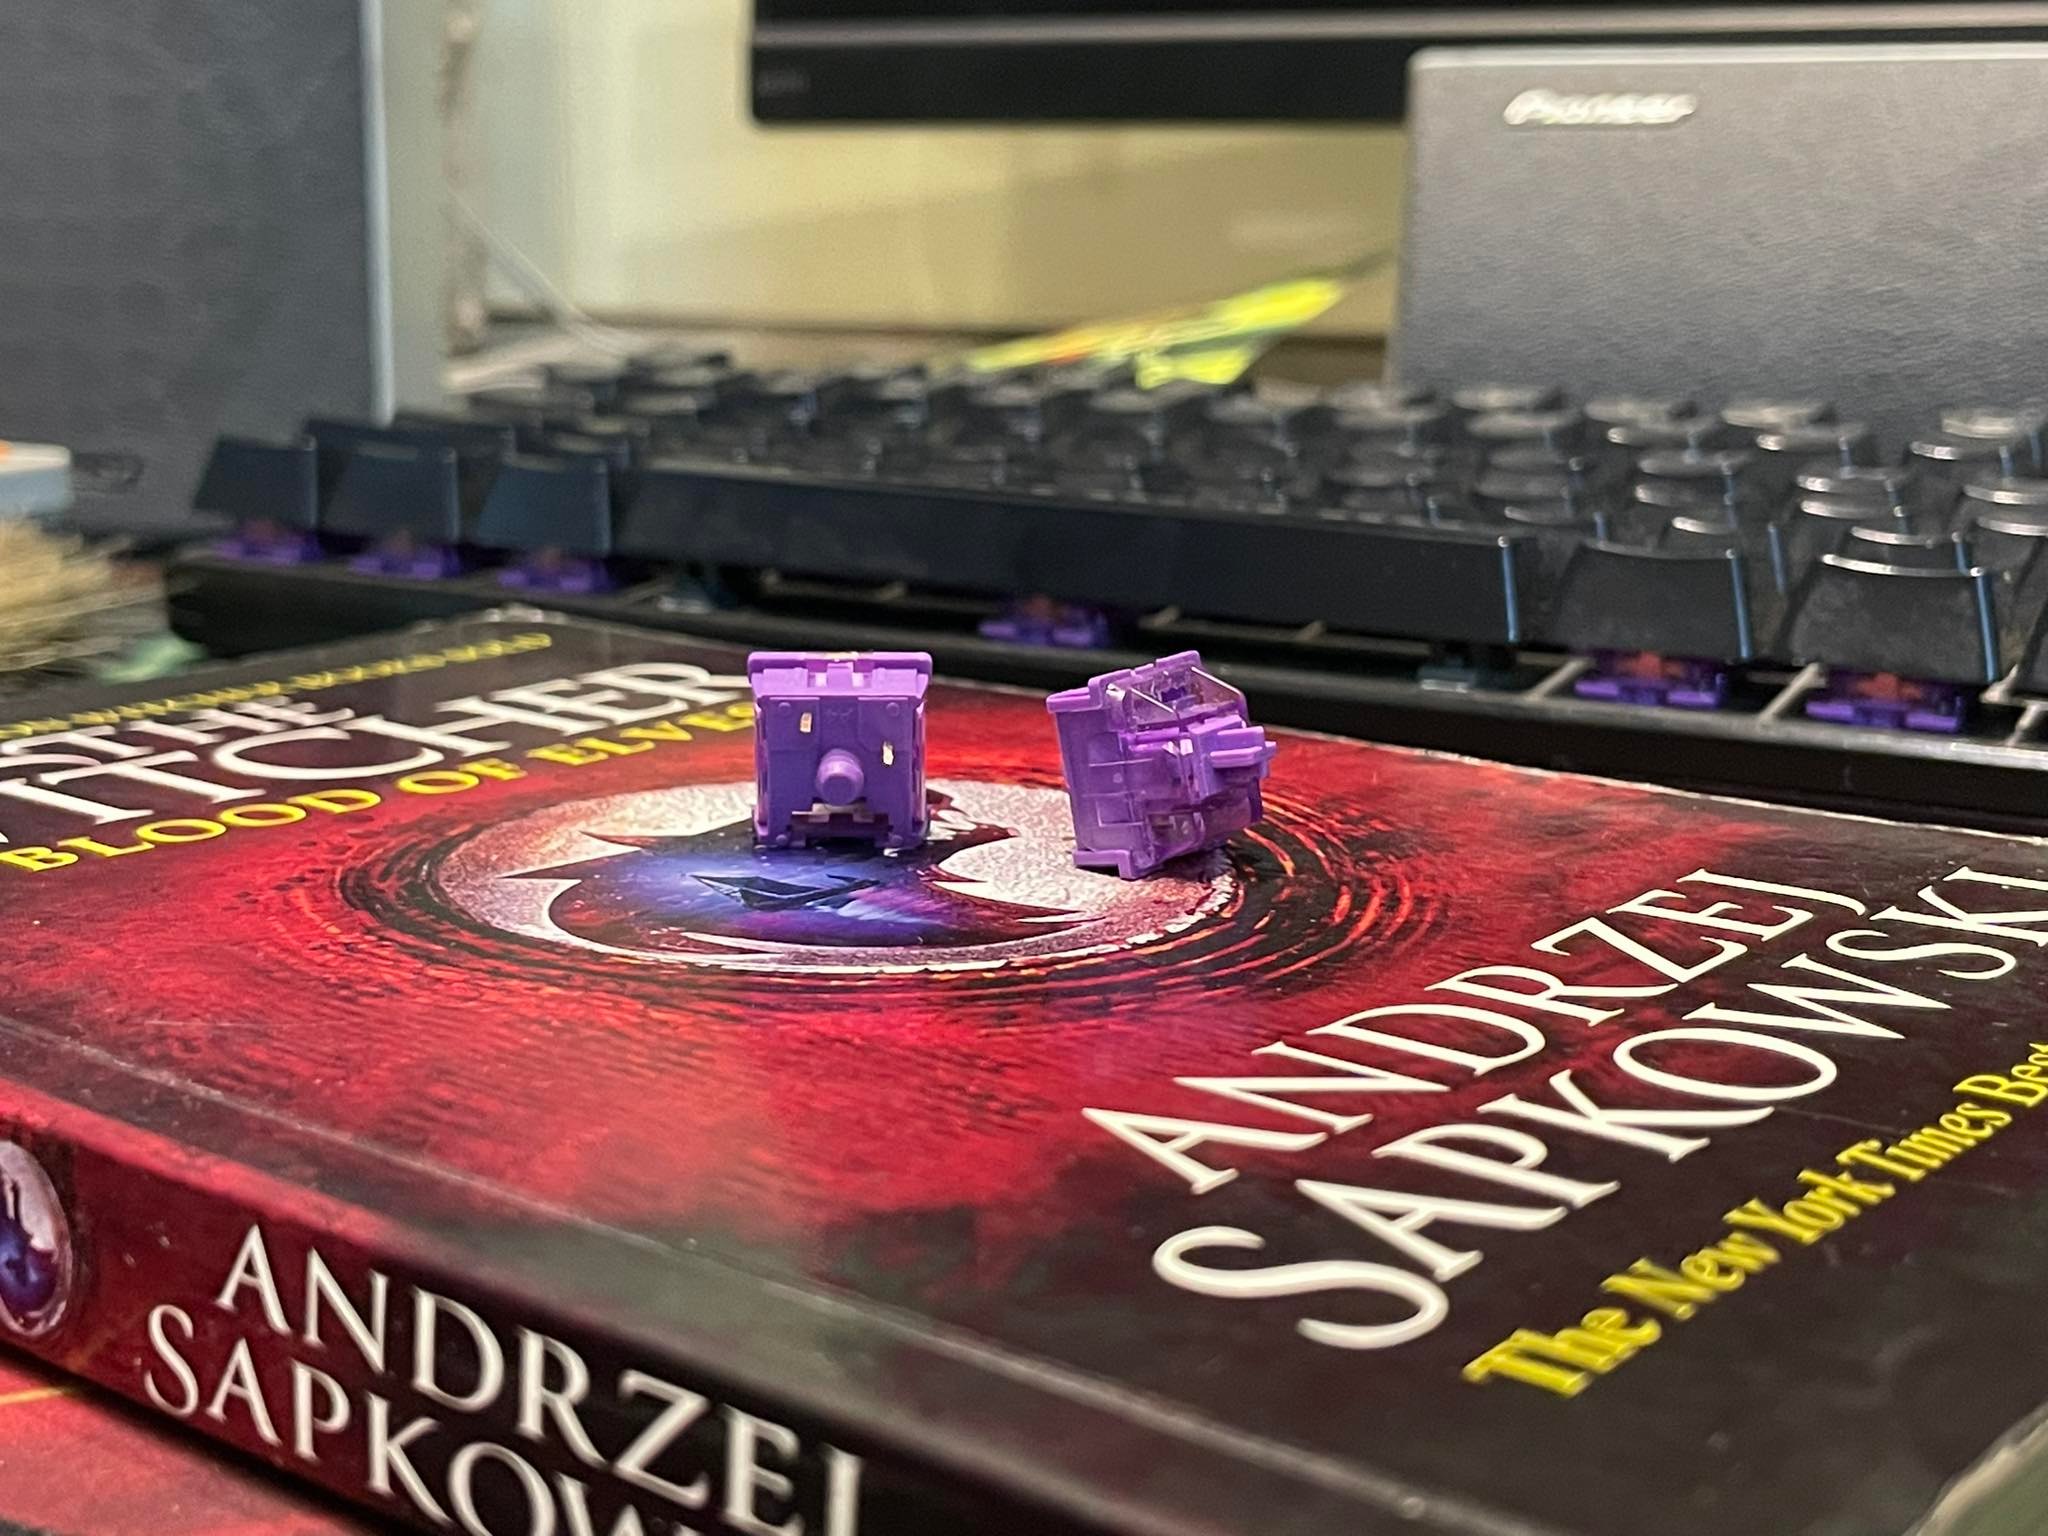
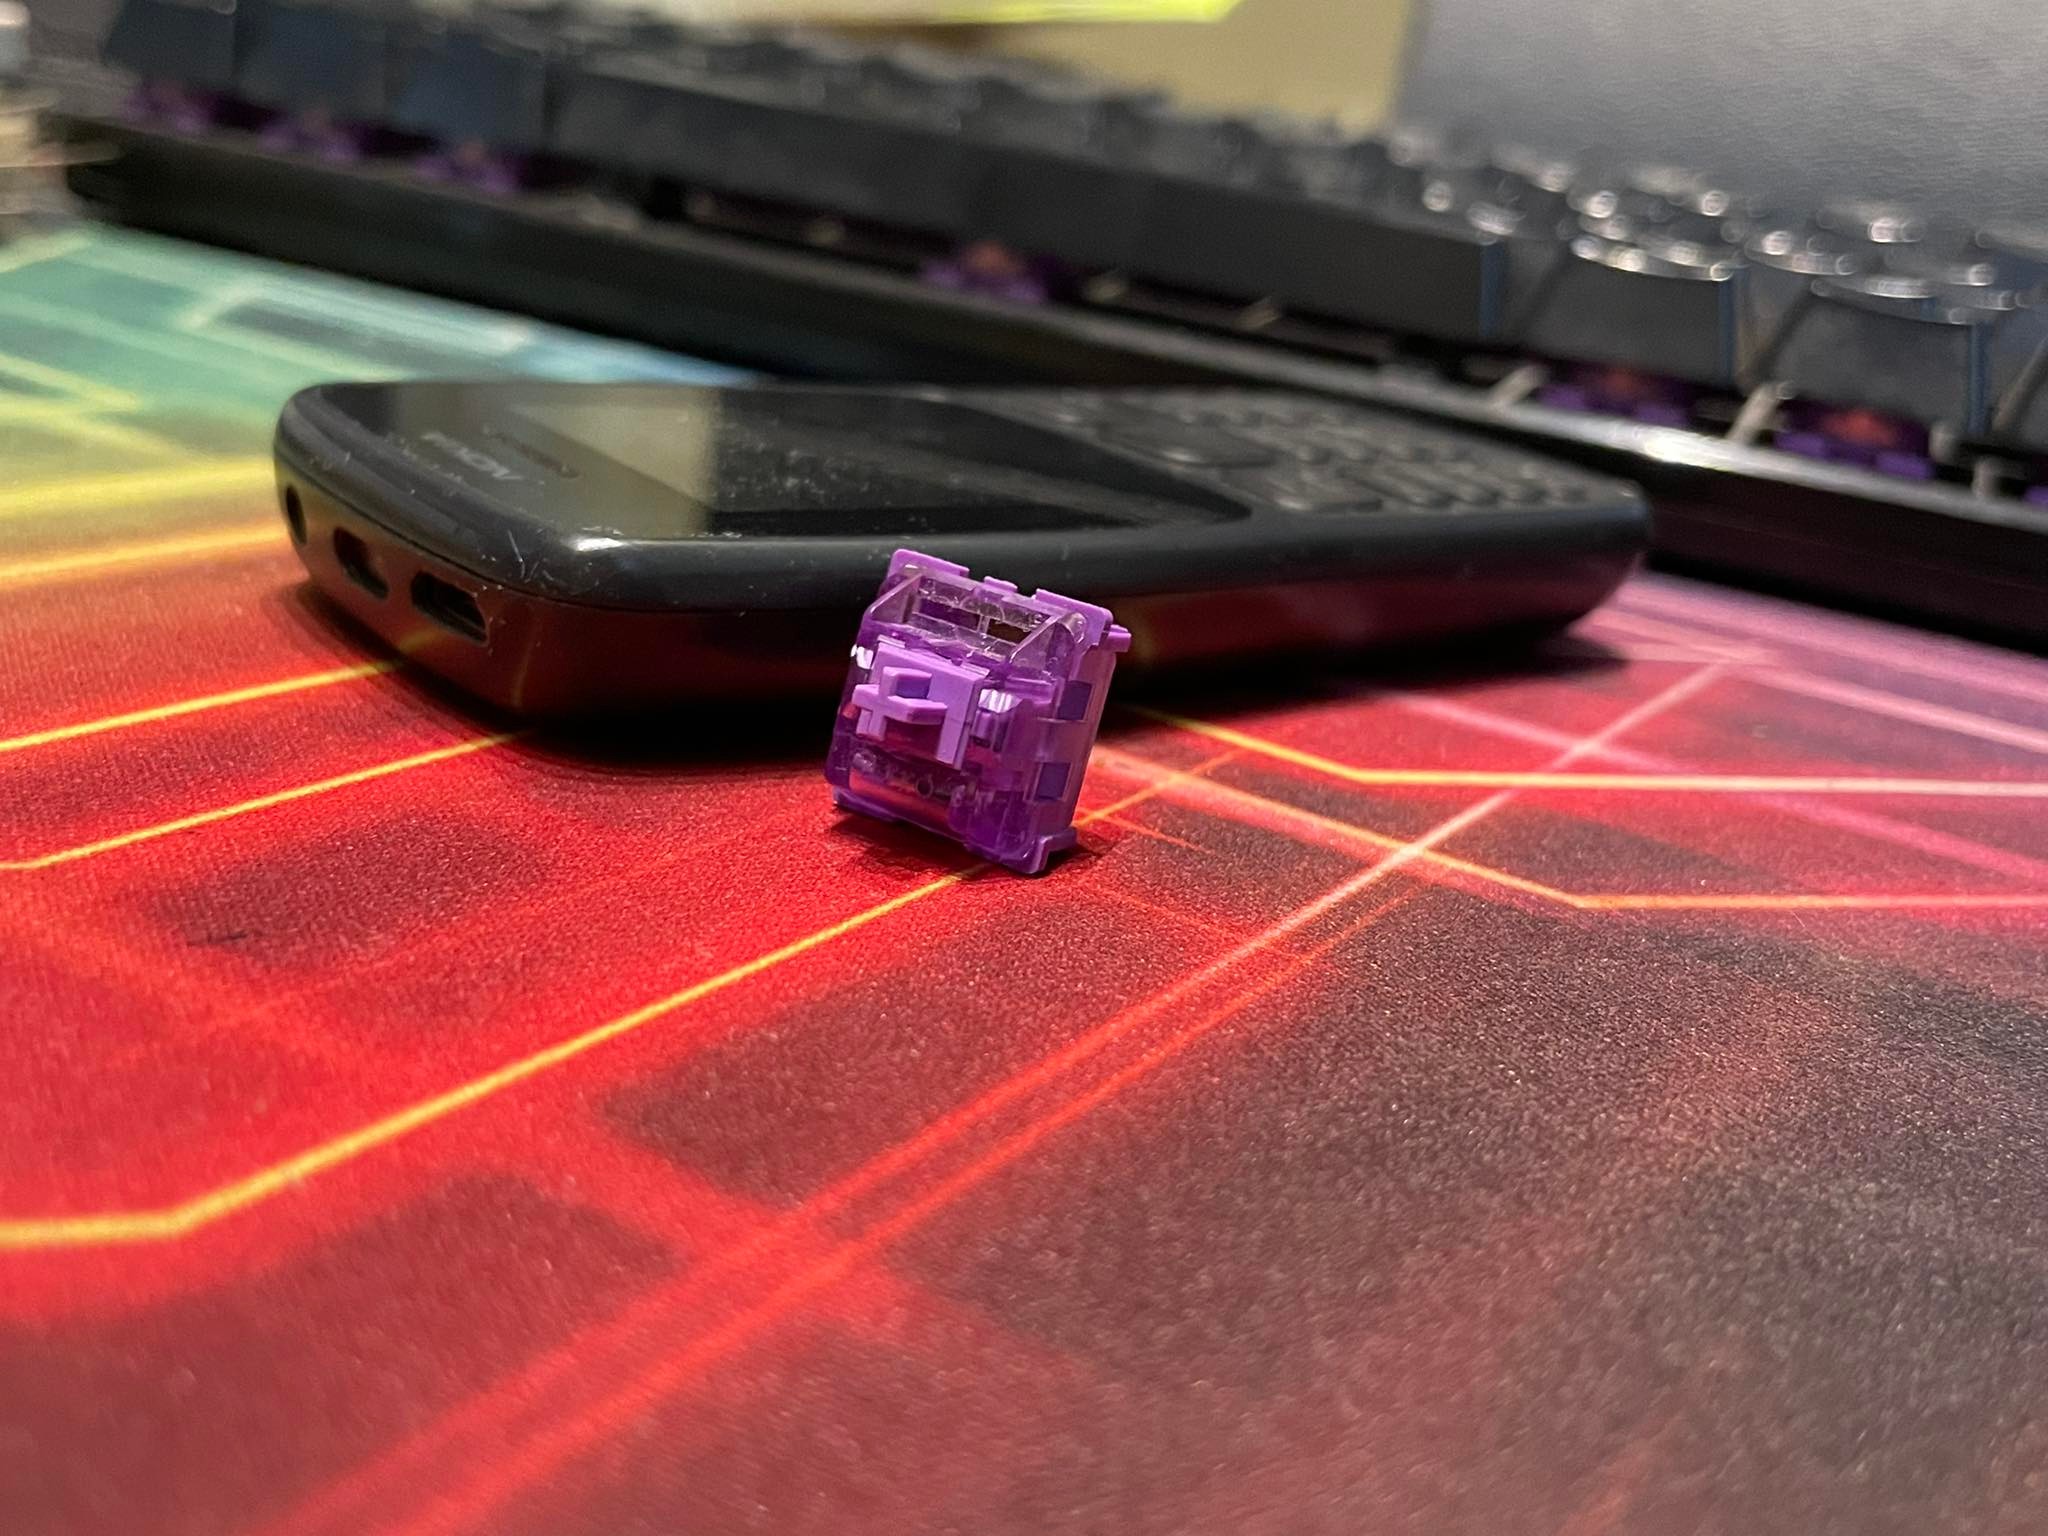
Despite initially planning to go full linear, I went tactile and got myself a set of Akko CS Lavender Purples. The switches arrived the very next day, in less than 24 hours, and I was super excited.
The Horror of Working with Outemu Sockets
I have mentioned previously that Outemu sockets are bad. But how bad exactly? Well, it’s not possible to summarise it in one line, so I’ll just tell you the entire story of that dreadful day I tried replacing Outemus.
I return home from classes, and find the switches and my new two-in-one keycap-switch puller. I had a test later in the afternoon, so I promised myself I’d study for the test, and replace them when I return home. I, for once decided to listen to my brain. But I just tried to pull out one outemu, and it broke. Tried another, and barely managed to pull that out. So, I forgot my vow, and got working.
Bent Tweezers, the hero of the day? Nope
I kept breaking the switches one after the other. I was breaking more switches than I was pulling out of those terrible sockets. So, I remembered this video from Pusakal. He recommended using bent tweezers to pull the switches out in case switch pullers don’t work out. So, I tried it, and it worked wonders. I managed to pull out the damaged ones too. I was pushing the switches out instead of pulling.
Until, it just seemed like the tweezers stopped working. I was no longer being able to put in the same amount of force. Looking at the tweezers, I quickly realized they were dead. They were bent and almost became straight. They were no longer bent tweezers. At this point, I left for the exam and planned to get yet another cheap piece of bent tweezers on the way back home. But guess what? They were out of stock. What more do you want from a day going south so badly?
The Actual Hero of the Day: A Flathead Screw-Driver
I was not in a good position that day regarding the project. The switch puller wasn’t working, the tweezers were gone, and I was left alone with a bunch of broken outemus and brand new switches. So, I deliberately posted on the MechaBoards BD Facebook group, and guess what? Somebody had a solution for me. And it was excellent
The solution was to get a flathead screw-driver, and slowly push the switch from all sides until it came out. So, I got a flathead screw-driver and did just that. And it appeared to me that the back of the switches got damaged if it was being applied too hard. The front was getting damaged at literally everything. So, I decided to say screw it, and pushed hard from the back for all switches. With minimal damage to the switches, I pulled them all out. Many people said it might scratch the body of the board, but if it is done carefully enough, it doesn’t scratch it. Ultimately, I managed to get all the switches out.
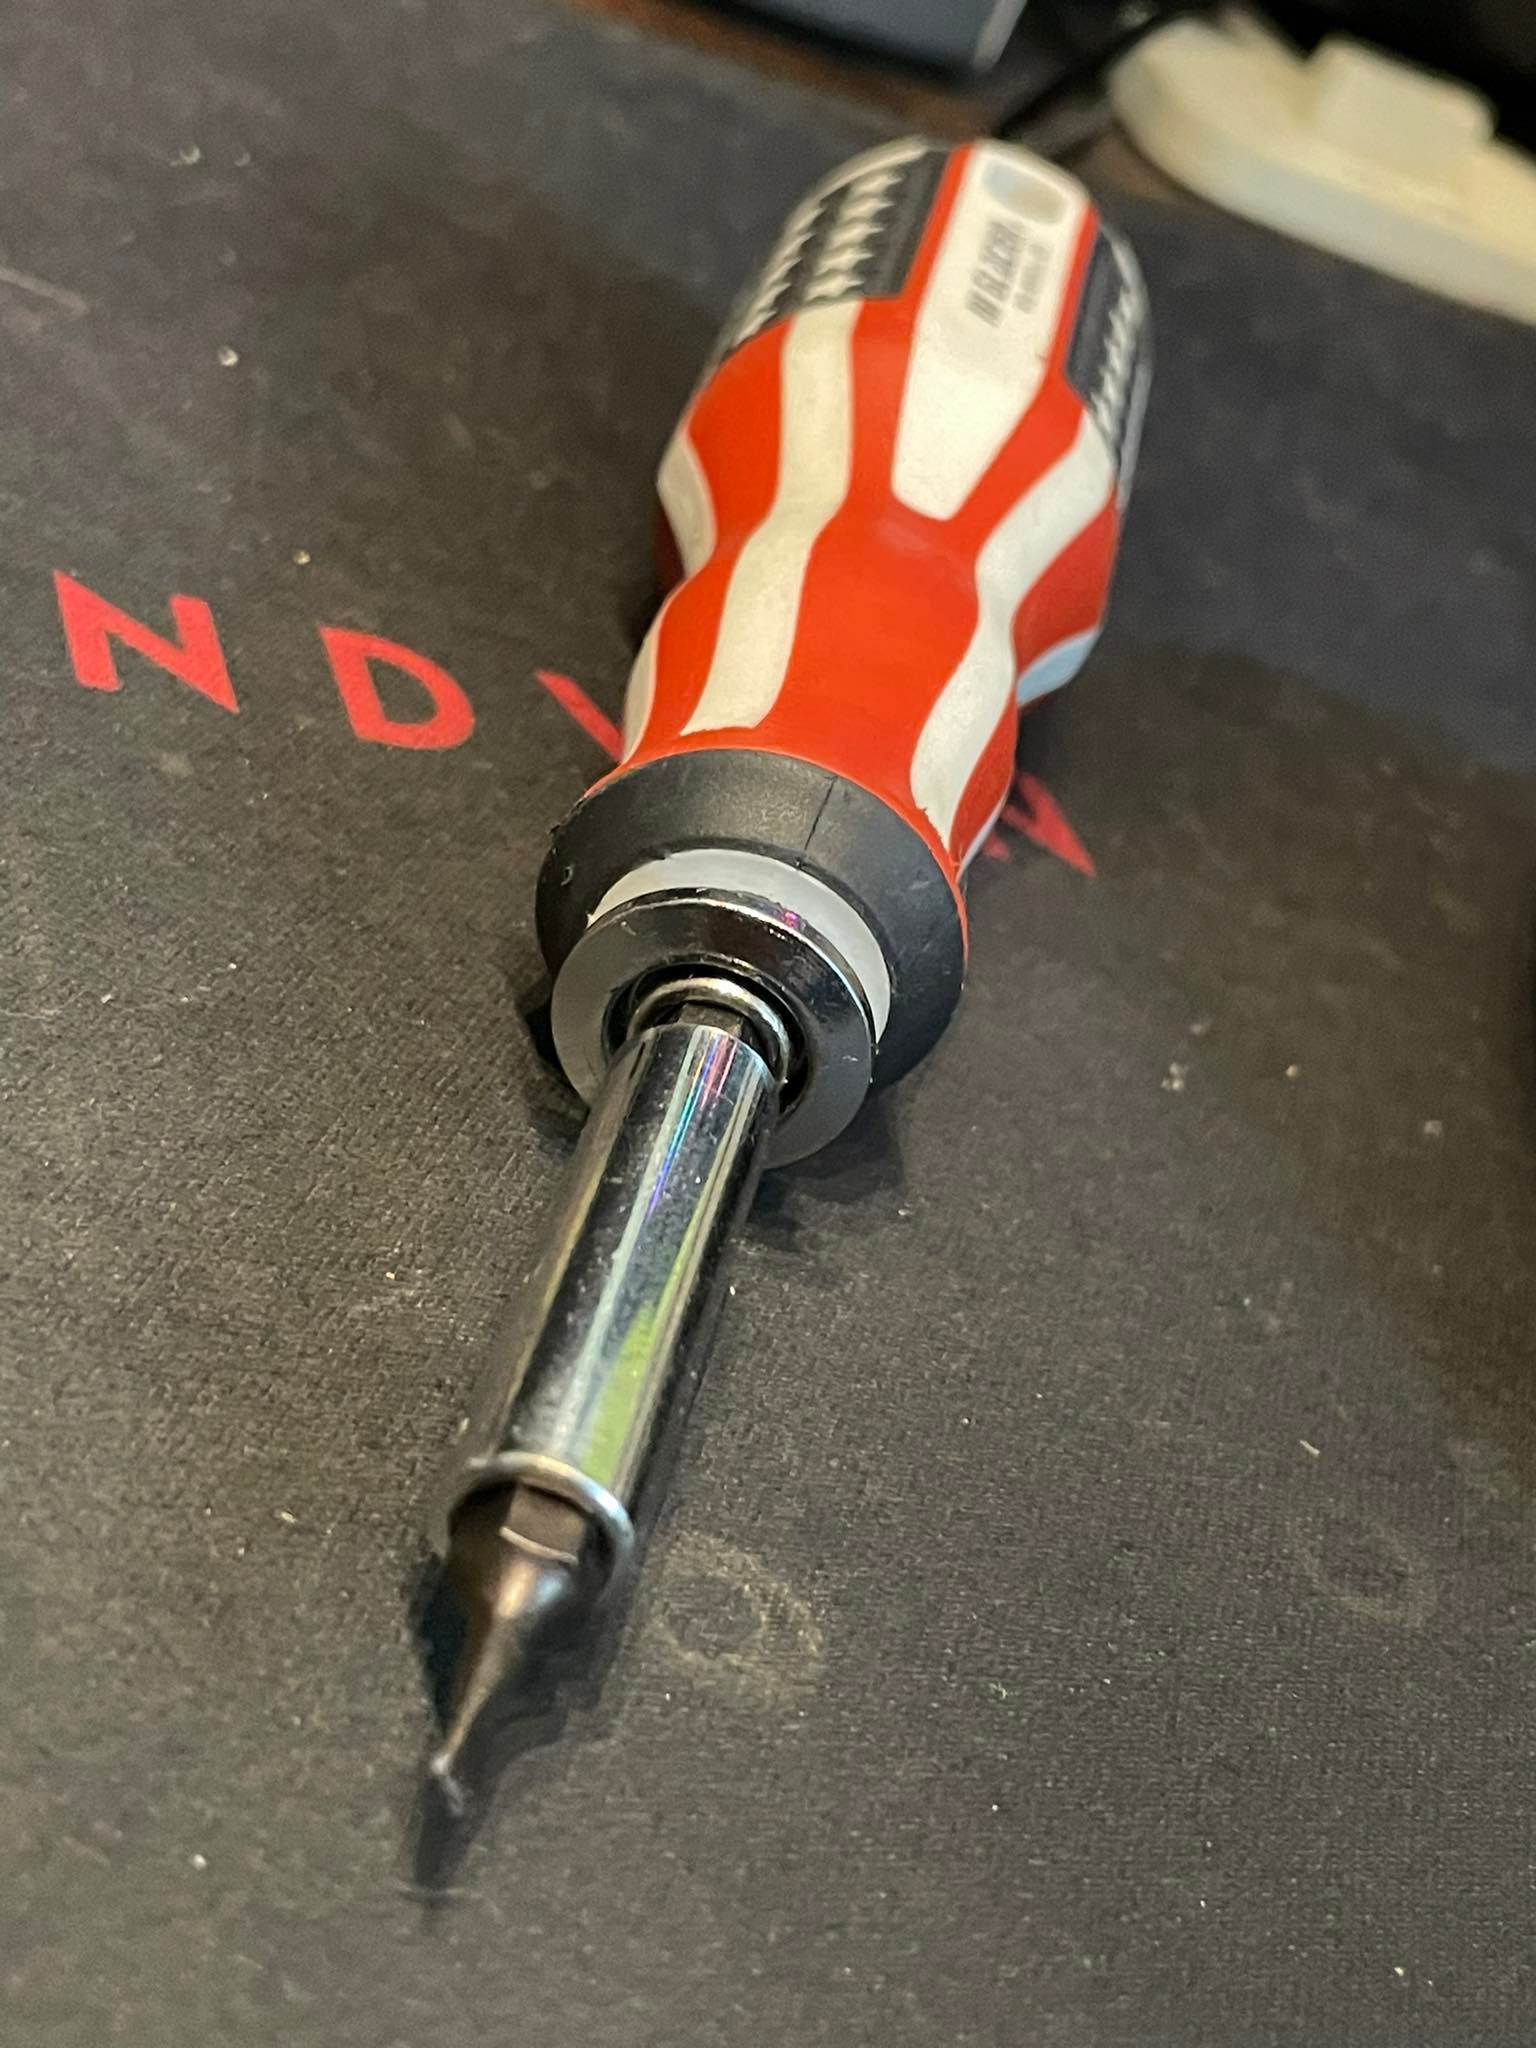
The End for a dreadful project.
The New Switches
I had never tried any mechanical switch other than clacky blues before, so it was very much a new experience for me. Before I put installed then onto the board, the switches did not feel very different to my previous Outemu Blue . Sure, a little bit smoother and all, but nothing too serious. I was initially disappointed. However, after installing the switches, I noticed the difference. No, it wasn’t subtle. The difference was very much night and day.
Let’s talk some specs. These are tactile switches with 36 grams of operating force, 4 millimeters of travel, 1.9 millimeters of pre-travel, a tactile position of 0.5 mm, and a tactile force of 50 grams.
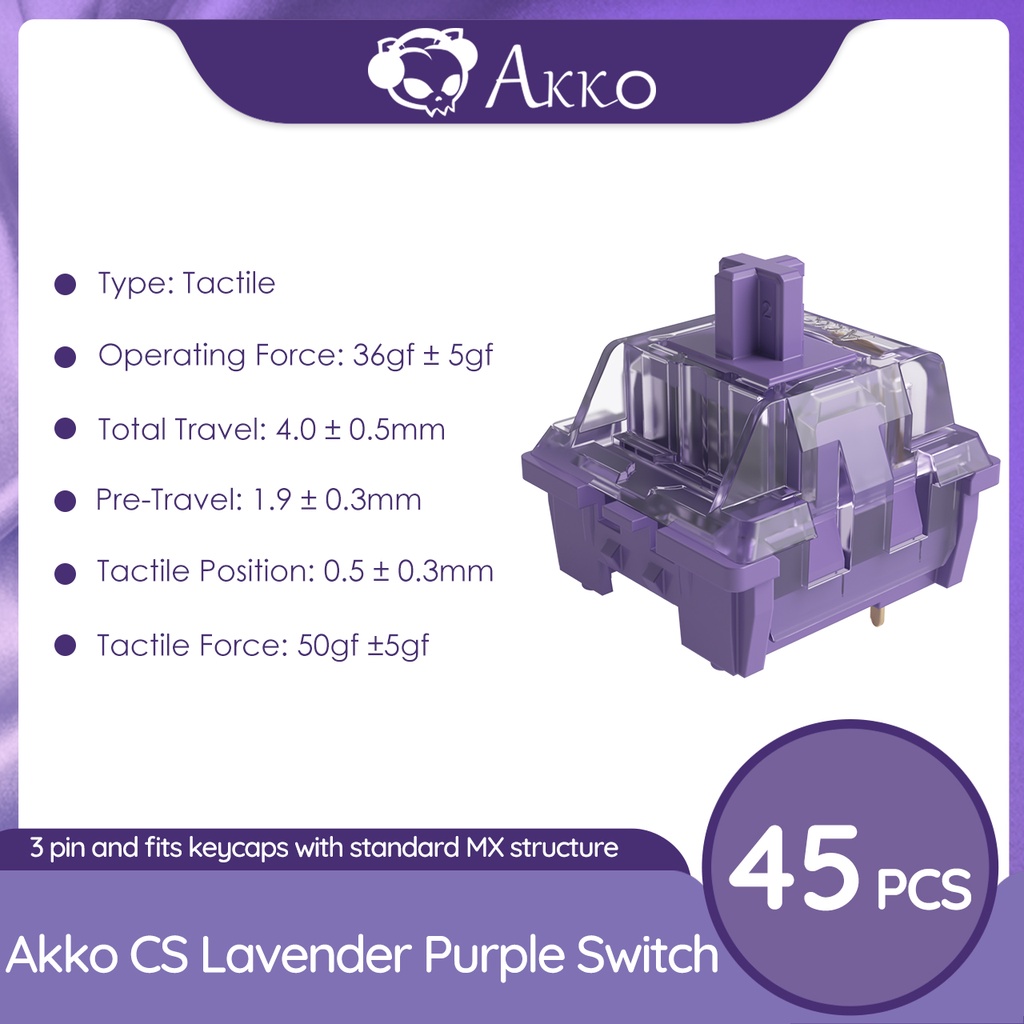
First things first, let’s talk about the feel. Because let’s be real, most people use noise cancelling headsets anyways, so sound isn’t a huge concern for them.
The Bump
If I should try and describe the feel of the Outemus, then I’d say they have a very subtle sharp bump compared to the Akko CS Lavender Purples. The main element making the bump feel pronounced with the outemus is the clicky noise coming out of the bumps.
The first thing I noticed after plugging these things in, is that the bump was at the very top of the switch, meaning there is no travel upto the bump Not to mention, the bump felt really different compared to the Outemus. The Akko CS Lavender Purples had a rather more pronounced and smoother bump. It almost feels snappy, primarily because of the bump being on top of the switch. I initially did not like it, but it saves me from mis-clicks.
It’s worth mentioning that you should not mistake the pre-travel for the travel up until the bump. It refers to the travel after which the switch actuates. That means, it factors in the travel of the bump.

It’s Buttery Smooth
Compared to the Outemu Blues, they are very smooth. It almost felt like the Outemus were rusty after using the Lavender Purples. Do note that I haven’t lubed the Lavender Purples. So for a beginner like me, these offer a fluid typing experience. There is a bit of scratch with the Lavender Purples according to most people online. I only notice it when I have my ears up close to the keys, but it does contribute to the clacky nature of the Purple switches. Maybe lubing these switches will change my perception of them. However, up until then, I’ll keep enjoying these switches.
The Lighter Actuation Force
The Akko CS Lavender Purples are also lighter. While the Outemus have an actuation force of around 50 grams, the Lavender Purples have an actuation force of 35 grams. So I don’t face any finger strain during long typing sessions, and get more comfortable typing sessions in general. I initially thought I would face more misclicks. However, because of the bump being at the very top, I don’t.

Stem Wobble
Stem wobble basically means the wobble on the top of the switches. This causes the keycaps to rattle resultantly, and makes it feel like the keycaps will pop out. It is obviously undesired. The Akko switches have very little rattle compared to the Outemu Blues.
My research did tell me about the low rattle, however, in person, the rattle is very tiny compared to the Outemus which is very much a welcome addition.

The Sound
Now it’s time to talk about the sound. Now, do note that this is entirely subjective, and my taste will not match yours. Not to mention, the sound will vary from keyboard to keyboard.
I have a full sized keyboard, and I initially had no mods done to this one. When I installed the switches, I also stuffed in a piece of A4 paper inside hoping that it would dampen the sound a bit.
I actually expected the keyboard to sound quieter. I was rather paranoid thinking my keyboard will be too quiet for my ears. However, I was wrong.
Contrary to my expectations, the Lavender Purples were louder than I had expected. With the Outemu Blues, you can hear a distinct clicky noise when you go past the actuation point. Regardless of how hard you press them, you’ll hear it.
That is not the case with the Lavender Purples. They can sound silent if you press them very slowly. On the other hand, if you press them really hard, then they can sound louder than the Outemu Blues would.
Let us discuss about some normal typing sessions.The Outemu Blues have given me a lot of trouble. I had to think twice before hitting a switch when someone was sleeping in my room. The sound was audible up to a good distance outside the room. The lavender purples are not quite the same. However you can still hear them outside of the room, although you have to be closer to room in order to be able to hear it.
When it comes to the nature of the sound, it sounds rather clacky stock. Apparently it is the same with all the Akko switches. However, after lubing, it can sound a bit thockier. With my board, they sound too clacky without mods and can be earrape for someone with experience regarding mechanical keyboards. But as someone who had never heard anything but clicky switches before, they sounded like music to my rookie ears.
Here’s a sound test:
Conclusion
The entire mod cost me around 2.9$, which is 2900 taka. Each set of switches cost 10$ each and contain 45 switches each, and I had to get two of them. However, in Bangladesh, they cost a little more at 1250 taka. So I had to spend 2500 taka on the switches, 250 on a keycap-switch puller, and the rest for delivery. If I could increase a thousand taka or around 10$ more in budget, I could have gotten the new Monka A87 which definitely would have been a better choice. But I don’t regret not getting the A87, because the amount of knowledge I gained during this project is fantastic. Not to mention, I also tape modded the board which made a huge difference. Moreover, I am currently working on the plate-mount stabilizers, and it couldn’t be more rewarding.
If you want to get your feet wet in the keyboarding hobby, but Outemu sockets are holding you back, Akko switches might be perfect for you. However, unless you want the joy of modding it, you may also look at the Monka A87, because the features it offers at 3,900 taka is insane. Happy Keyboarding!

